Are you tired of your vape not delivering the flavor and satisfaction you crave? Regular vape maintenance is key to keeping your vape pen in top shape, maximizing its performance, and extending its life.
In this guide, you’ll learn essential cleaning steps, how to properly maintain your coils, and best practices for storing your vape to prevent issues like burnt cotton and other problems that can affect heating.
By the end, you’ll know how to enhance your vaping experience and get more from your device, ensuring you enjoy every puff from your favorite products at Stony Cigars.
Vape Maintenance: Essential Tips for a Smooth Vaping Experience
Understanding the Importance of Vape Maintenance for Longevity
Maintaining your vape properly is key to extending its lifespan. A little care goes a long way in keeping everything running smoothly. Regular maintenance helps prevent issues like burnt coils and leaks, ensuring you enjoy each puff without interruptions.
One essential maintenance tip is to clean the tank regularly. Use water and a soft towel to wipe down the interior, removing any residue. This practice keeps the flavor fresh and enhances the overall vaping experience.
Don’t forget about the cotton in your device. Replacing or cleaning the cotton with a dipped cotton swab in ethanol helps eliminate built-up gunk. Doing this can significantly improve the flavor quality and prolong the life of your vape.
Overall, a bit of routine maintenance can save you money and enhance your vaping pleasure. Remember to regularly inspect and clean your setup:
- Clean your tank with water and a towel.
- Replace or clean the cotton using a cotton swab dipped in ethanol.
- Check for any leaks or other issues that might arise.
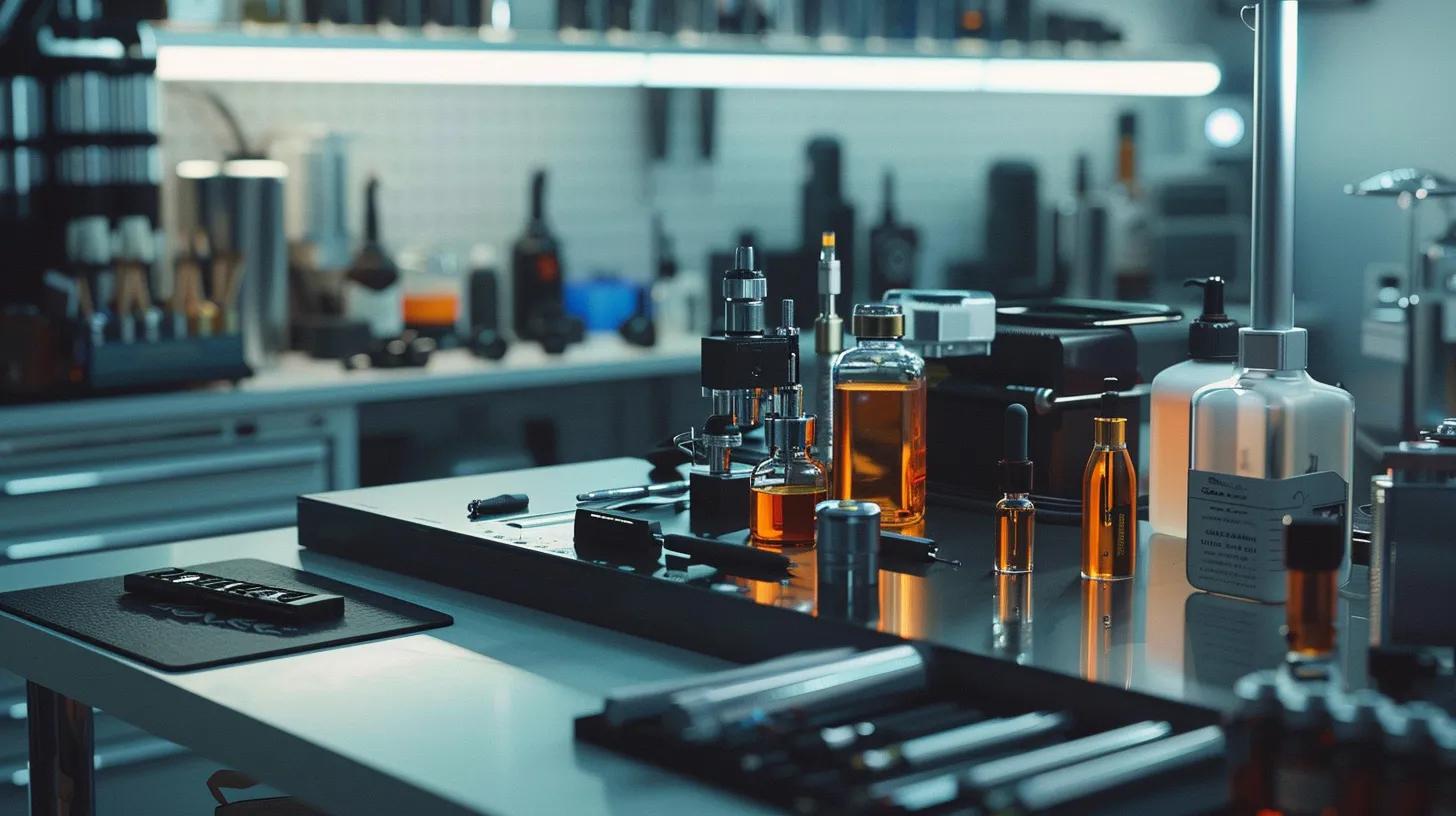
Essential Tools and Supplies for Effective Vape Cleaning
To achieve a clean and well-functioning vape, you’ll need the right tools and supplies. Start by choosing effective cleaning solutions, like isopropyl alcohol, to ensure good hygiene while removing any residue that may affect the taste of your juice.
Then, gather essential items such as paper towels and cotton swabs, and set up a dedicated cleaning space to keep everything organized. Each of these steps will make your maintenance routine much easier and more efficient.
Choosing the Right Cleaning Solutions
When it comes to choosing the right cleaning solutions for your vape setup, you want something that effectively removes residue without damaging your gear.
Isopropyl alcohol is a popular choice because it dissolves gunk and can be safely used on most components, including the tank and cartridges.
For those looking for a more natural alternative, vodka can also be effective; just make sure it’s a high-proof version to tackle stubborn buildup. This way, you maintain a clean vaping experience without compromising your device.
It’s equally important to have cleaning supplies that work well with your rechargeable battery and battery charger. A clean battery connection ensures optimal performance and prevents issues like weak connections or reduced lifespan.
Use a cotton swab lightly dipped in your chosen cleaning solution to gently wipe the connection points. These small steps not only keep your device in top shape but can also enhance flavor and vapor quality, making each puff more enjoyable.
Gathering Necessary Tools
When gathering the necessary tools for effective vape cleaning, start with some basic supplies. You’ll want to have a bowl for holding your cleaning solutions, like rubbing alcohol or vinegar, which can effectively break down any residue.
A few cotton swabs or paper towels will help you apply those solutions and wipe down hard-to-reach areas, making your cleaning process more efficient.
Don’t forget about having proper access to electricity so you can recharge your vape as needed. A clean battery connection is essential for optimal performance and prevents any smoke output issues during your sessions. By keeping these tools handy, you can ensure a hassle-free cleaning routine:
- Bowl for cleaning solutions
- Rubbing alcohol or vinegar as cleaning agents
- Cotton swabs or paper towels
- Access to electricity for recharging
Preparing Your Cleaning Space
Setting up your cleaning space is key to making the maintenance process smooth and efficient. Start by finding a flat, stable surface where you can work without distractions.
Gather your soap, cleaning solutions, and tools like cotton swabs and paper towels nearby. This way, you can easily access everything you need without interrupting your flow, making it a whole lot easier to tackle those pesky residue build-ups and ensure your vape’s longevity.
Consider the airflow in your cleaning area as well. A well-ventilated space helps in rinsing away any lingering cleaning agents, ensuring you don’t breathe in any harmful substances.
As you clean your vape pens, having this environment set up properly not only enhances your cleaning routine but also gives you peace of mind, knowing you’re taking the right steps for your device’s care and performance.
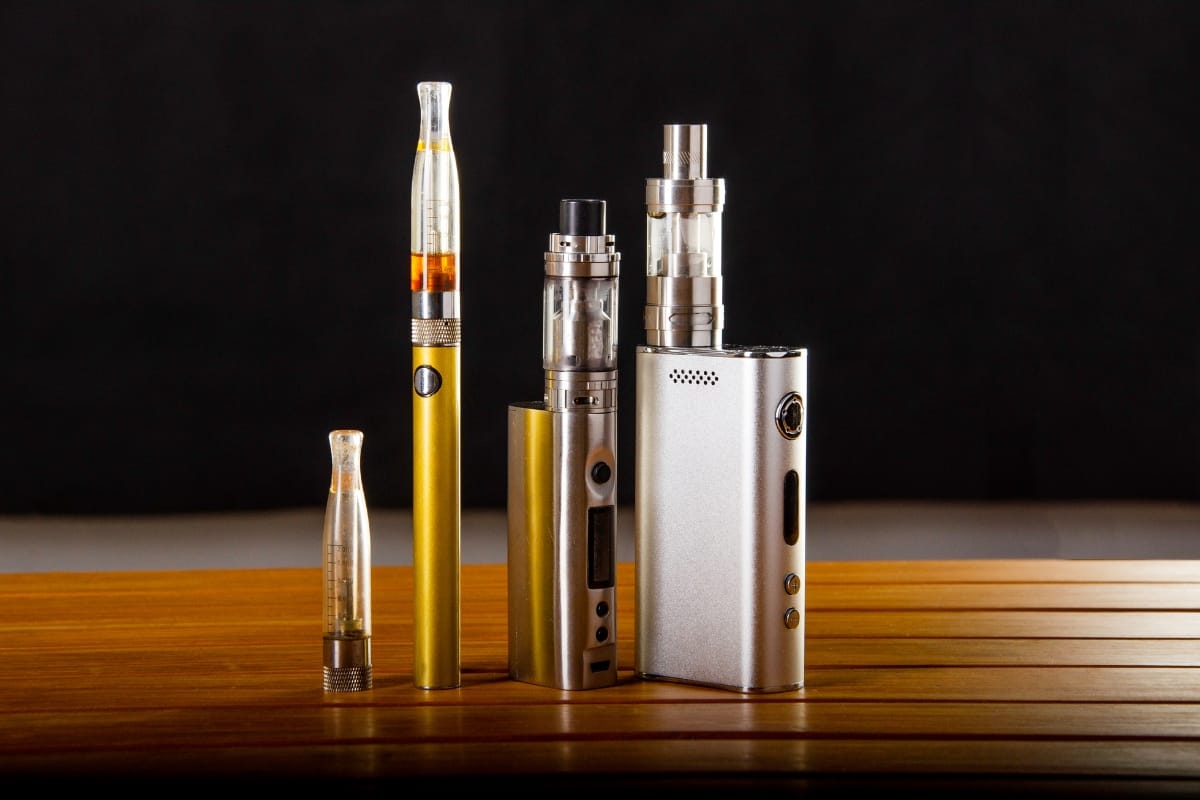
Step-by-Step Guide to Disassembling Your Vape
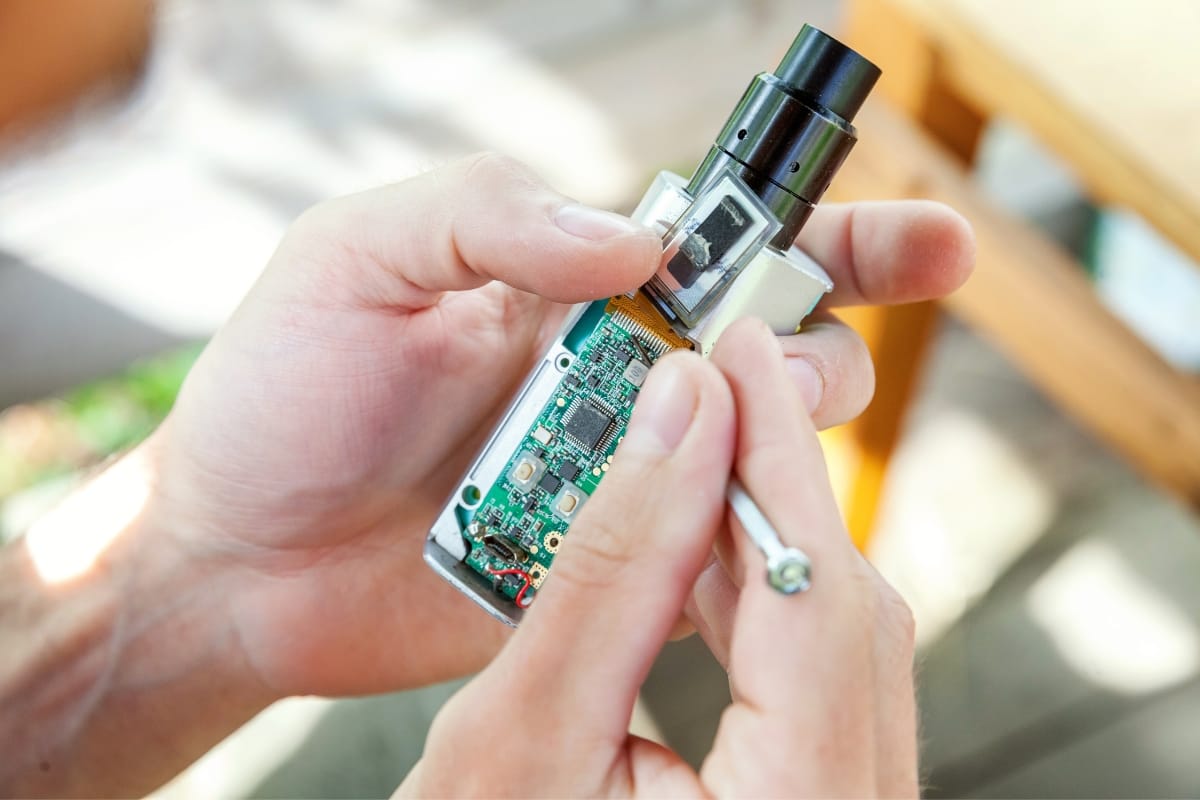
Knowing how to disassemble your vape is essential for effective maintenance. Start by identifying different components, such as the tank, heating element, and battery.
Use proper disassembly techniques to avoid damaging your device. Remember to follow safety precautions during this process, keeping dust and residue away, and considering vinegar as a cleaning agent when it’s time to replace parts. Let’s dive into these tips for a seamless disassembly experience.
Identifying Different Components
When you’re ready to disassemble your vape, start by identifying its different components, which typically include the tank, battery, and heating element. Each part plays a role in your vaping experience, and knowing them helps you clean and maintain your device effectively.
For instance, exposing parts like the battery to moisture or sunlight can compromise their life expectancy, so be cautious during the cleaning process.
As you take your device apart, keep an eye out for lint or debris that might accumulate in the tank or around the connections. Use an appropriate cleaning agent, like isopropyl alcohol, to remove any residue without damaging the components.
This careful attention to detail will not only keep your vape performing well but also contribute to a longer-lasting device that provides consistent flavor and enjoyment.
Proper Disassembly Techniques
When disassembling your vape, start by gently removing the components, ensuring you don’t force anything. Pay close attention to the battery and metal parts, as they can be sensitive to moisture. If your device has a button, take care to keep it intact and avoid damaging it, as this could lead to issues down the line.
As you work through the disassembly, keep a small dish or bowl nearby filled with warm water mixed with a few drops of dishwashing liquid. This solution can help break down stubborn residues while allowing you to troubleshoot any troublesome parts.
Remember to recycle your battery properly once you’re finished, as this step is crucial for sustainable vaping and keeping the environment in mind.
Safety Precautions During Disassembly
When disassembling your vape, make sure to prioritize safety to keep your device in top shape. Always charge your battery before starting, as a fully charged unit reduces the risk of running out of power mid-disassembly.
Using a toothpick can be a handy tip for carefully prying apart components without causing damage, especially around sensitive areas like the cart and battery connections.
Consider removing the tank first and checking for any residual liquid that might spill. If you’re replacing any parts, handle everything gently to avoid breaking components, which could lead to leaks or other issues.
Remember that a clean and focused workspace is just as important; ensuring you don’t have distractions will help you avoid accidents while working on your vape’s upkeep.
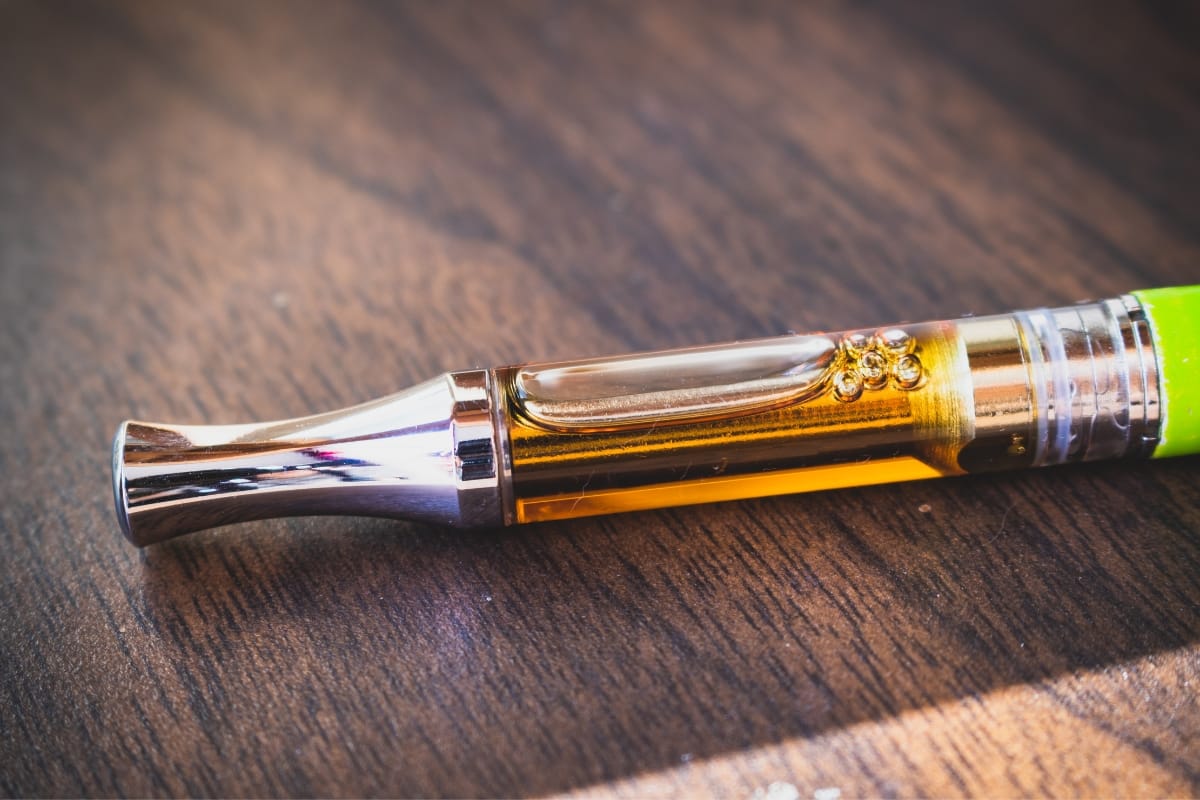
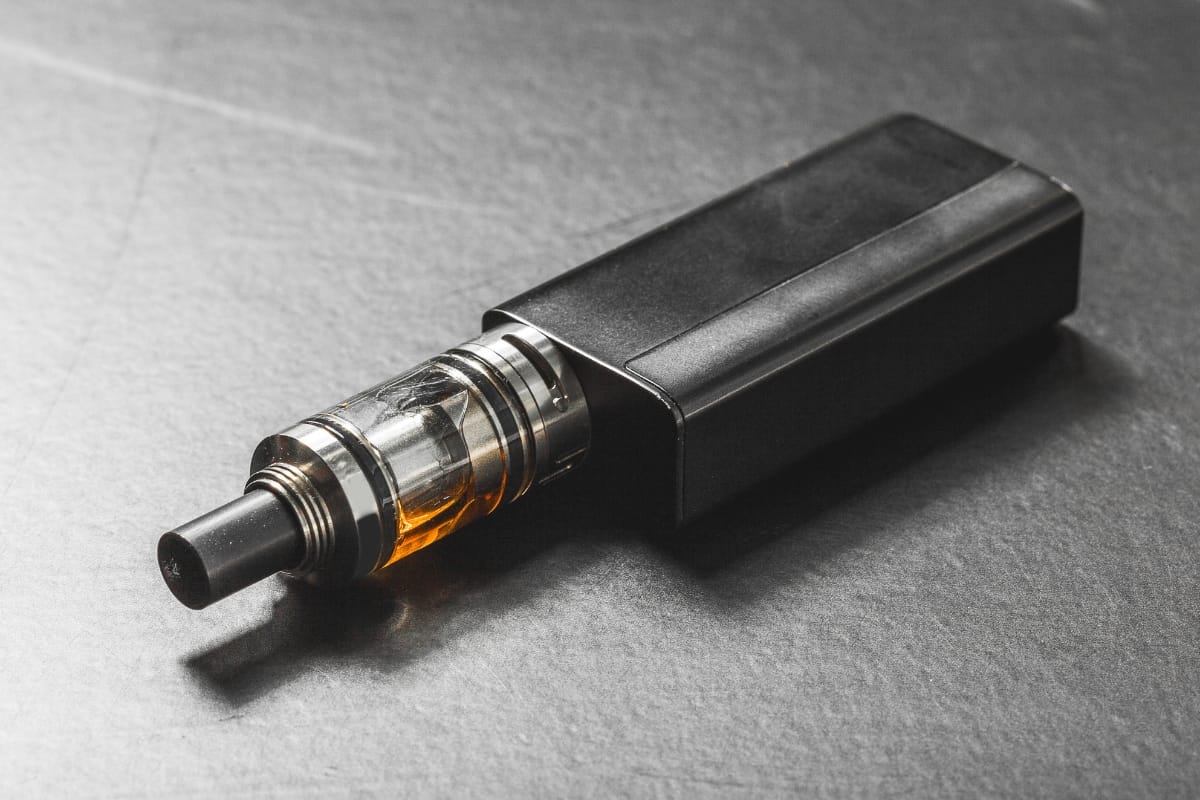
How to Clean a Vape Tank for Optimal Performance
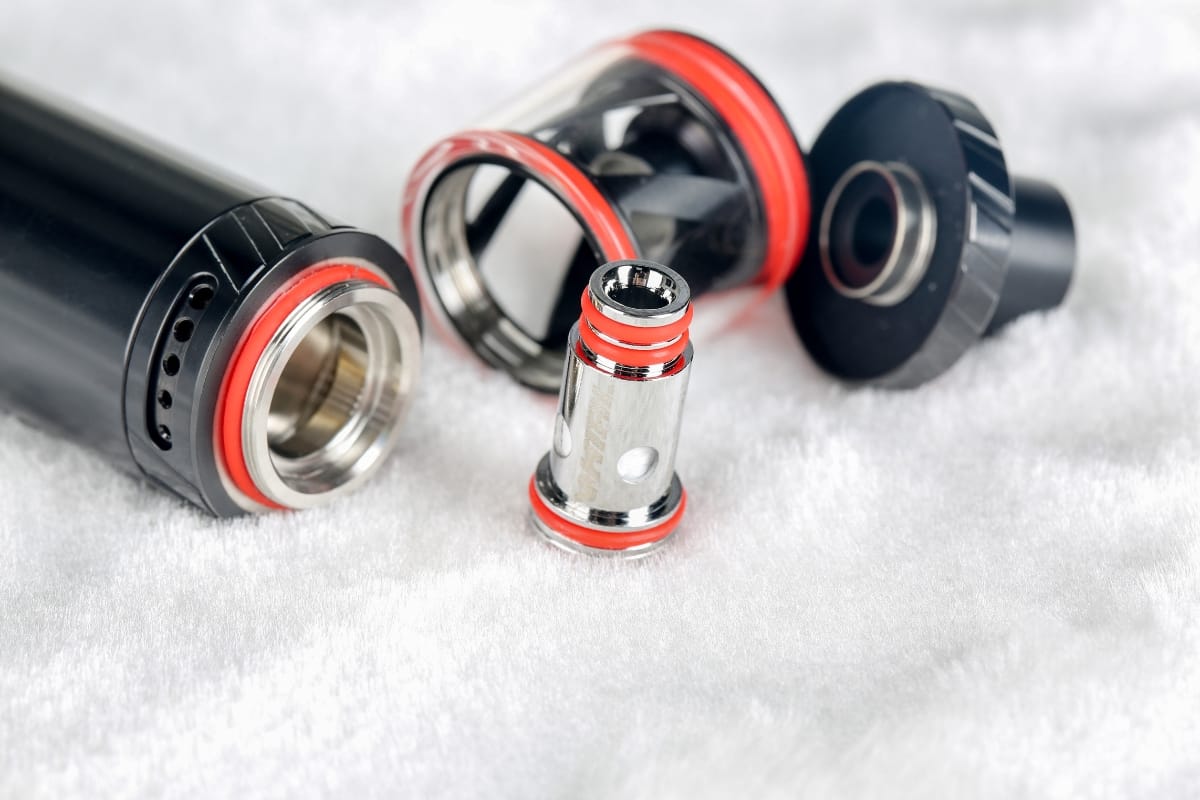
To keep your vape tank performing at its best, gather the right materials for cleaning, including a soft brush, warm water, and a cloth.
You’ll learn how to effectively clean glass and metal tanks, ensuring no sucralose residue lingers. We’ll also discuss how to clear out any incompatible flavors, so your heating element delivers pure satisfaction with each puff.
Materials Needed for Tank Cleaning
To effectively clean your vape tank, you’ll need a few basic materials that won’t compromise your health or your gear. A soft brush is essential for scrubbing away any gunk, especially in glass tanks where residue can build up over time.
Warm water paired with a mild cleaning solution ensures that you eliminate any lingering flavors, which helps maintain the shelf life of your vape juice and enhances your overall experience.
Don’t forget to have a cloth on hand for drying your tank after cleaning. If you’re based in the United Kingdom or anywhere else, proper recycling of your vape materials is key.
Ensure that any disposable components are disposed of correctly to minimize environmental impact and keep your cleaning routine eco-friendly while contributing to a healthier vaping experience.
Cleaning Process for Glass and Metal Tanks
Cleaning your vape tank, whether it’s glass or metal, requires some attention to detail. Start by disassembling the tank and rinsing it under warm water.
If you notice any sticky residues or lingering odors, you might want to use a mild cleaning solution to wipe it down, especially if you’ve been vaping herb or strong flavors that leave a prominent smell. The goal here is to eliminate any buildup that could affect the taste of your next session.
After scrubbing away any gunk, make sure to dry it completely before reassembling. Humidity can create issues like leaks, so it’s vital to ensure everything is thoroughly dried.
Once put back together, you’ll find that a clean tank not only improves the flavor but also reduces unwanted odors, leading to a much more enjoyable vaping experience. Taking these simple steps can really extend the life of your device, letting you savor each puff without any hassles.
Clearing Residue and Incompatible Flavors
Regularly clearing out any debris or dirt from your vape tank is crucial for maintaining optimal performance. If you’re noticing any strange flavors or residue buildup, grab a soft toothbrush to give those hard-to-reach spots a gentle scrub. Taking the time to remove buildup frequently will help keep your vape tasting fresh and enjoyable.
When you disassemble your tank, don’t forget to check for any screws that might have loosened over time.
Sometimes, even a small amount of dirt can affect the overall vaping experience. Keeping your vape clean not only enhances flavor but also extends its life, making your next session that much better.
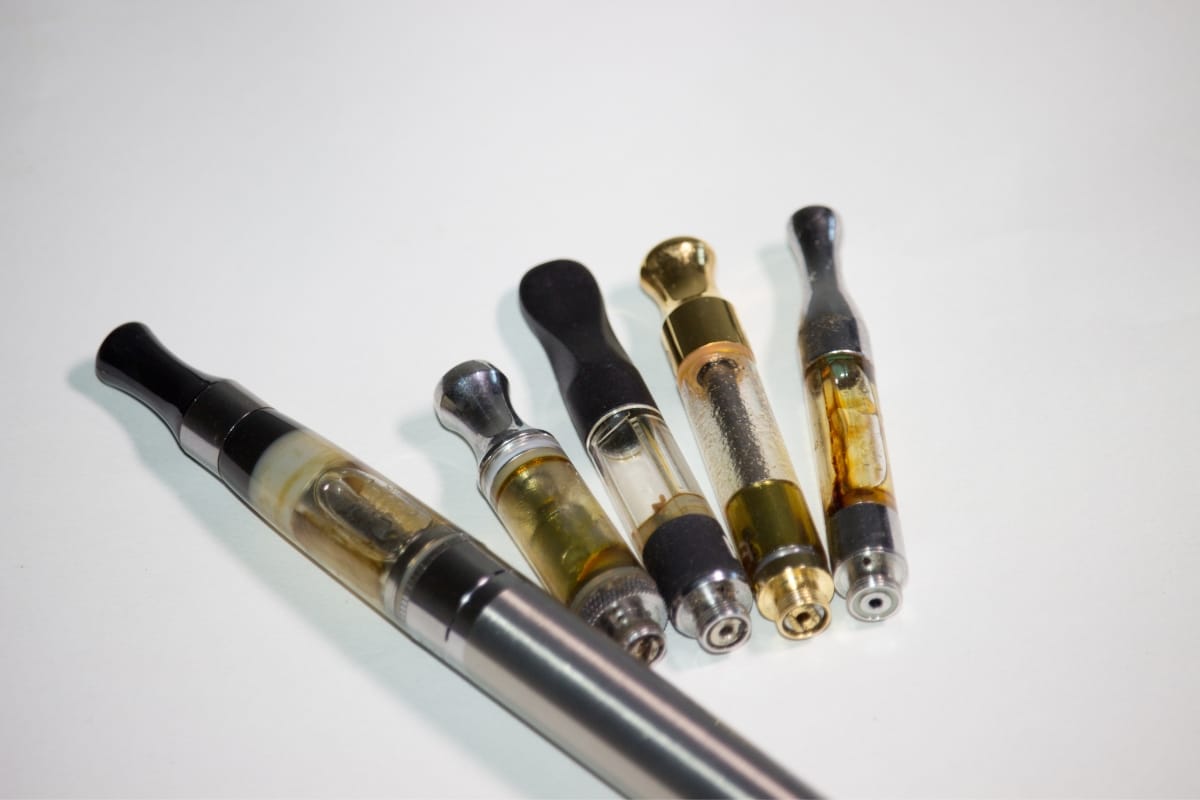
Maintaining the Vape Coil to Enhance Lifespan
Recognizing the signs of a worn-out coil is vital for maintaining your vape’s performance. You’ll learn about the importance of cleaning versus replacing your coil and the best practices for upkeep.
Using distilled water and alcohol can help minimize wear and tear while keeping your coil in good condition, allowing for a smooth vaping experience.
Signs of a Worn-Out Coil
Knowing the signs of a worn-out coil is vital for keeping your vaping experience enjoyable. If you start tasting a burnt flavor or an odd metallic taste, it’s a clear indicator that your coil may need immediate attention.
Along with unpleasant tastes, you might also notice that vapor production has decreased significantly, making each puff less satisfying and similar to candy that has lost its flavor.
Another prominent sign of a failing coil is leakage. If you find e-liquid collecting at the base of your tank or an unexplained wetness sinking into your pocket, it’s time to act.
Addressing these warning signals quickly can save you money in the long run, avoiding a potential need to replace your entire device and ensuring you enjoy your sessions without unnecessary hassle:
Cleaning vs. Replacing the Coil
When considering cleaning versus replacing your vape coil, it’s essential to recognize the signs of wear. A dirty coil can often be cleaned using a simple bottle filled with distilled water and alcohol, allowing you to enjoy better flavor without the expense of a replacement.
By using tools like a pipe cleaner for hard-to-reach spots, you can remove buildup and extend the coil’s life, saving you from unnecessary waste and costs.
However, if your coil shows persistent issues, like a burnt taste or decreased vapor production, it might be time to replace it altogether. Relying solely on cleaning may not eliminate the problem if the coil is significantly worn. Keep an eye on performance, and don’t hesitate to check your device’s user manual.
Best Practices for Coil Maintenance
To keep your vape coil in top condition, it’s important to frequently remove any buildup that may accumulate, particularly with juices high in propylene glycol.
A simple, effective method is to use warm water combined with a bit of crystal to flush out residues that can affect flavor. If you’re in a hurry, a hair dryer on a low setting can help dry the coil instead of letting it air dry, ensuring it’s ready for your next session.
Regularly inspecting your heating chamber should also be part of your coil maintenance routine. If you notice any discoloration or residue, take a few minutes to clean it out with isopropyl alcohol and a cotton swab.
Keeping these areas clean will help prevent issues like burnt flavors or leaks and ensure that your vaping experience remains pleasant and enjoyable:
Best Practices for Cleaning Other Vape Components
Keeping your vape setup clean is essential for a great experience. Start with the drip tip; regular cleaning helps maintain hygiene and enhances flavor with every puff.
Make sure to keep the battery terminals clear of residue to ensure optimal performance. Lastly, caring for your clearomizers and atomizers will prevent issues, ensuring your tanks deliver the best possible flavor consistently.
Cleaning the Drip Tip for Better Hygiene
Keeping your drip tip clean is essential for ensuring better hygiene and flavor. Bacteria can easily build up on the mouthpiece, especially if you use disposable vapes or pods frequently.
To avoid potential health issues, make a habit of cleaning your drip tip regularly with warm water and a mild soap, or simply wipe it down with a cotton swab dipped in isopropyl alcohol.
Not only does this practice improve hygiene, but it also enhances your overall vaping experience. A clean drip tip means you can enjoy every puff without any unpleasant flavors lingering from previous sessions.
By taking this simple step, you can contribute to reducing electronic waste as well; it encourages longer-lasting use of your components by keeping them in better condition.
Keeping the Battery Terminals Free From Residue
Keeping your battery terminals clean is key to ensuring your vape operates properly. Residue buildup on these terminals can lead to weak connections, affecting performance and potentially shortening battery life.
Regular maintenance involves wiping down the terminals with a cotton swab lightly dipped in isopropyl alcohol, which helps prevent any oxidation that could disrupt your vaping experience.
By making this part of your routine, you not only enhance the lifespan of your device but also ensure every puff is satisfying. If you ever notice any connection issues or decreased vapor production, checking the battery terminals should be your first step.
This simple practice accounts for smoother operation and can eliminate frustrations that come from poor performance, ultimately keeping your vaping enjoyable for you, the customer.
Caring for Clearomizers and Atomizers
Caring for your clearomizers and atomizers is a habit that can greatly enhance your vaping experience. Regular cleaning helps maintain cleanliness and ensures that flavors stay true to their intended profile.
To clean these components effectively, opt for a gentle solvent like isopropyl alcohol to wipe away any residue that can affect performance and taste, allowing you to enjoy each puff to the fullest.
It’s also a good idea to pay attention to the brand of the clearomizer or atomizer you’re using, as some materials may require special care. Take a few minutes after each vaping session to rinse these parts with warm water and a mild cleaner, or use alcohol for deeper cleaning.
By incorporating this simple routine, you’ll prolong the life of your devices and ensure they continue to deliver satisfying flavor with every draw.
How to Store Your Vape Properly for Prolonged Life
Storing your vape the right way is crucial for extending its lifespan. You’ll need to consider ideal temperatures and conditions for storage, as extreme heat can affect your device’s performance.
Preventing dust and debris accumulation is key, as even a little buildup can cause issues. Lastly, if you plan to store your vape long-term, have specific recommendations to ensure it stays in good shape.
Ideal Temperatures and Conditions for Storage
To prolong the lifespan of your vape system, it’s vital to store it at the right temperature. Ideal storage conditions keep your device in quality shape, ensuring it’s always ready for action.
A cool, dry place away from direct sunlight and heat sources helps prevent damage to the battery and other components, so you can enjoy vaping without any worries.
Make sure to keep your vape away from extreme temperatures, which can impact the functionality of the system. If you frequently use vegetable glycerin-based e-liquids, remember that heat can break down these substances, affecting flavor and quality.
Proper storage is about creating an environment that promotes longevity, so keep your vape in a stable, moderate temperature setting to avoid any unpleasant surprises down the line:
- Store your vape in a cool, dry place.
- Avoid direct sunlight and heat sources.
- Ensure a stable temperature to maintain quality.
Preventing Dust and Debris Accumulation
To keep your vape in top shape, it’s essential to prevent dust and debris from accumulating. Store your device in a clean, dust-free environment, ideally in a dedicated case or pouch.
This simple step helps keep unwanted particles away from sensitive areas like the tank and battery connections, ensuring you avoid issues that could impact performance.
Regularly check the storage area and give it a quick clean to eliminate any dust build-up. A few minutes of maintenance goes a long way in protecting your vape, allowing you to enjoy a better vaping experience.
By taking these precautions, you can ensure your device stays clean and functions smoothly whenever you’re ready to use it.
Recommendations for Long-Term Storage
For long-term storage of your vape, consider using a case that shields it from moisture and dust. Keeping your device in a soft, padded pouch not only protects it from scratches but also prevents accidental damage from bumps and drops. This way, you know your vape gear will be in great shape every time you’re ready to use it.
It’s also wise to remove the tank and e-liquid when storing your vape for an extended period. This practice helps prevent leaks and ensures that both your juice and device stay fresh.
By following these recommendations, you’ll set your vape up for reliability and longevity, allowing you to savor every puff when you return to it.
Common Myths About Vape Maintenance to Avoid

Misconceptions about cleaning frequency can lead you to overdo or overlook maintenance tasks. You might also believe e-liquid has an indefinite shelf life, but that’s not the case.
Additionally, coil care myths can affect your vaping experience. In the following sections, we’ll clarify these points to help you maintain your vape properly and enhance its lifespan.
Misconceptions About Cleaning Frequency
One common misconception about vape maintenance is that you only need to clean your device when it looks dirty or stops working well.
In reality, regular cleaning of your vape helps prevent buildup that can negatively impact performance and taste. Making it a habit to clean your vape consistently will extend its lifespan and ensure you enjoy every session to the fullest.
Another myth is that all components of your vape need the same cleaning frequency. Different parts, like tanks and coils, have specific needs based on use and e-liquid type.
For example, if you’re using a high-sweetener e-liquid, you might need to clean your tank more often to avoid residue buildup that can alter flavor. Understanding these nuances will enhance your vaping experience and keep your device running smoothly.
Incorrect Beliefs About E-Liquid Expiration
A common misconception you might encounter is the idea that e-liquid lasts indefinitely. In reality, e-liquids do have a shelf life, typically ranging from six months to two years, but this can vary based on the ingredients used.
Factors like exposure to light, air, and heat can degrade the flavors and overall quality, leading to a less enjoyable vaping experience.
It’s essential to check your e-liquid for any changes in color or smell before use, as these can be signs of spoilage. If your vape juice tastes off or has a strange odor, it’s best to discard it.
By being mindful of your e-liquids and their storage, you can ensure you’re always enjoying the best flavors while maintaining your device’s performance during your vaping sessions.
Debunking Myths Related to Coil Care
Many people think that you can keep cleaning your vaporizer’s coil endlessly without needing to replace it. In reality, even with regular maintenance, coils have a limited lifespan due to the wear and tear from heat and e-liquid use.
You’ll want to keep an eye on performance indicators like taste and vapor production—if you notice a burnt or metallic flavor, it’s probably time to swap it out for a new one.
Another myth is that you should always soak your coil in cleaning solutions. While regular cleaning can remove some residue and buildup, soaking can damage the coil, especially if it’s rated for a limited number of uses. Instead, it’s better to clean your coil gently to prolong its life while still providing a satisfying vaping experience:
- Check your coil often for signs of wear.
- Avoid soaking your coil in cleaning solutions.
- Focus on maintaining optimal performance throughout its lifespan.
Frequently Asked Questions
Why is vape maintenance important for longevity?
Vape maintenance is crucial for longevity, as it ensures optimal performance and prevents issues like leaking or burnt coils. Regular cleaning and proper care keep your device running smoothly, enhancing your overall vaping experience and enjoyment.
What tools do I need for effective vape cleaning?
For effective vape cleaning, you need a soft brush, cotton swabs, isopropyl alcohol, and a microfiber cloth. These tools will help you maintain your device and ensure a smoother vaping experience by removing residue and buildup.
How do I properly disassemble my vape?
To properly disassemble your vape, start by removing the tank and unscrewing the coil from the base. Next, detach the mouthpiece and any additional parts, ensuring you clean each piece before reassembly for optimal performance.
What are the best practices for cleaning vape components?
To clean vape components effectively, regularly disassemble your device and rinse parts with warm water. Use isopropyl alcohol for stubborn residue. Make sure to dry all parts thoroughly before reassembly to maintain optimal performance and flavor.
How should I store my vape for optimal lifespan?
To keep your vape in great shape, store it upright in a cool, dry place. Avoid direct sunlight and extreme temperatures. This prevents leaks and preserves flavor, extending the lifespan of your vape and its contents.
Conclusion
Proper vape maintenance and cleaning are essential for extending the life of your device and ensuring an enjoyable vaping experience every time. When you’re ready to take your vaping to the next level with high-quality vape products and expert advice, Stony Cigars is here to help.
Contact us through our site form or give us a call at 770-702-5123. Visit us today and explore our premium collection of vape devices, accessories, and more to enhance your experience!